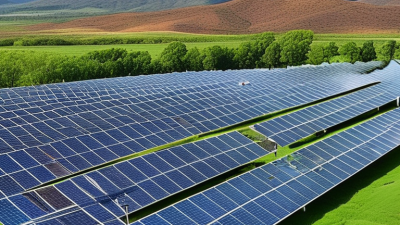
Buying solar equipment across borders is rarely as simple as comparing wattage and price. A glossy 550-watt panel may look attractive, yet its real value depends on efficiency, degradation, warranty support, and performance in local weather. Global buyers also face shipping delays, currency changes, import duties, and different installation standards. Careful research protects both budgets and project timelines.
This guide presents 10 practical solar power buying tips for international customers, distributors, and project developers. It explains how to compare manufacturers, verify certifications, assess factory quality, and examine financial stability. Buyers should request independent test reports, clear product datasheets, and warranty terms written in understandable language. The phrase power solar may appear in online searches, but reliable purchasing decisions require more than search rankings or impressive marketing claims.
Real projects teach useful lessons. A panel that performs well in a cool warehouse may behave differently under desert heat, coastal salt, or heavy snow. Battery systems require equally careful review, especially for temperature control, cycle life, and after-sales service. Speaking with qualified installers and checking completed projects can reveal problems that brochures hide.
No checklist is perfect. Even experienced buyers sometimes underestimate local maintenance needs or delivery risks. That weakness deserves attention. A sensible buyer leaves room for inspection, technical questions, and changing market conditions. With evidence, professional advice, and realistic expectations, international buyers can choose equipment that remains dependable long after the purchase order is signed.
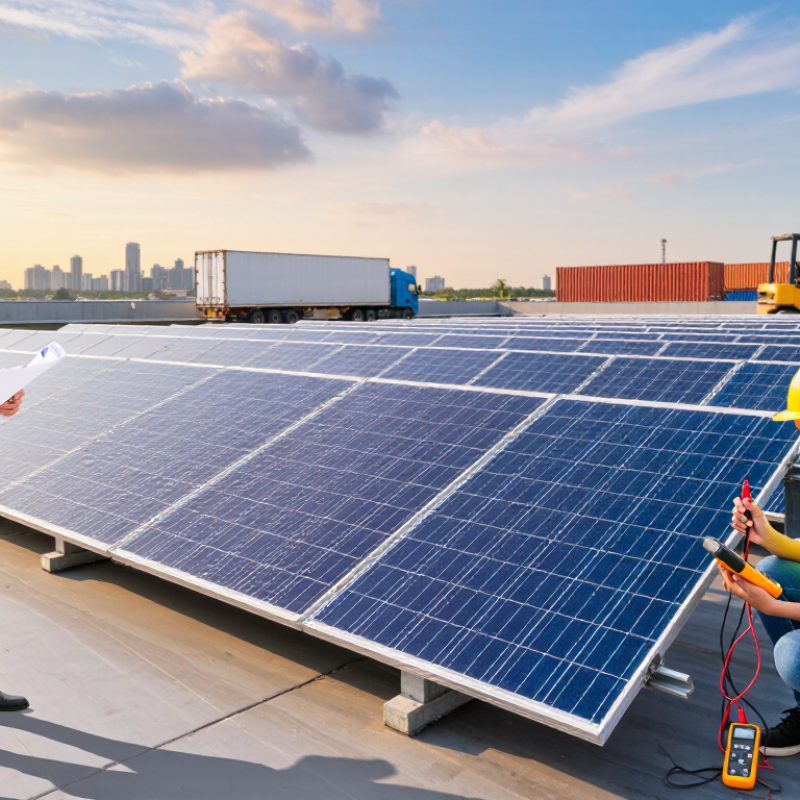
Before requesting solar quotes, record how your property uses electricity. Collect twelve months of utility bills, note seasonal peaks, and list essential appliances. A refrigerator, water pump, and medical device may need priority during outages. Know your daily load.
Decide whether the system will reduce bills, provide backup power, or operate independently from the grid. These goals change the equipment size, battery capacity, and installation design. Measure available roof space and check shading at 9 a.m., noon, and 3 p.m. A small tree can reduce output more than expected. Weather matters too.
Set a realistic budget that includes permits, wiring, mounting, monitoring, maintenance, and future battery replacement. Ask suppliers for performance estimates based on local sunlight, temperature, and panel orientation. Request technical datasheets, safety certifications, warranty conditions, and clear delivery terms. Experienced installers should explain voltage limits, inverter compatibility, and emergency shutdown procedures without vague promises.
Payback calculations deserve careful review. Energy prices, export rules, taxes, and exchange rates can change. I have seen attractive estimates fail because they assumed constant sunlight and ignored winter demand. That mistake is easy to repeat. Compare several offers using the same system size and assumptions. Keep written records of every question, revision, and promised service. Your energy goal may evolve after one month of monitoring, and that is normal.
Solar technology should match the site, not just the sales brochure. Monocrystalline panels usually deliver strong output in limited roof space. Thin-film options can perform better on some large, warm surfaces. Bifacial panels may gain energy from reflected light, but only with suitable ground clearance and bright surroundings. Ask for independent test data under realistic temperatures and low-light conditions.
System size starts with measured electricity use. Collect twelve months of utility bills, then check seasonal peaks. A home using 900 kilowatt-hours monthly needs a different design from a workshop with heavy daytime loads. Oversizing can increase cost without improving payback. Undersizing may leave expensive grid purchases during cloudy weeks. On site assessments, shading from a water tank or nearby tree often changes the final layout.
Performance estimates should include temperature loss, dust, wiring, inverter efficiency, and annual degradation. Request expected output in kilowatt-hours, not only peak capacity. Compare the same weather assumptions and operating years. Certification to recognized electrical standards supports safer procurement, but installation quality still matters. Verify installer training, maintenance access, monitoring functions, and local permitting experience. Small details count.
A five-degree roof adjustment can affect annual yield. So can poor ventilation beneath panels. Models are useful, yet they are not perfect. Ask what happens when actual production misses the estimate. Written assumptions and clear service terms make that conversation more reliable.
A solar supplier’s polished website is only a starting point. Ask for its registered business details, manufacturing address, and the name of the company shown on contracts and invoices. These should match. Request recent references from buyers in markets with similar weather and grid conditions, then contact them directly. A short video call from the factory floor can help, but it is not proof by itself.
Look beyond a certificate’s logo. Check the document number, issuing laboratory, product model, and validity dates with the issuing organization where possible. Confirm that the tested model matches the panel or inverter being quoted; small suffixes can indicate different specifications. Requirements vary by destination and product type, so have a qualified local professional verify which approvals apply. Keep copies of test reports and written warranty terms.
Inspect sample units for cracked glass, uneven frames, loose connectors, or labels that do not match the paperwork. Ask how production batches are traced and what happens when a unit fails inspection. Request performance data under stated test conditions, not just a headline efficiency figure. A sample can look excellent and still tell you little about an entire shipment. I learned that the hard way. Build inspection rights and acceptance criteria into the purchase agreement before paying a deposit.
Verify supplier credentials, product quality, and certifications by checking whether documentation refers to recognized international standards and the correct product or manufacturing site.
The chart shows the publication year of commonly referenced editions of ISO 9001, ISO 14001, IEC 61215, and IEC 61730. Always confirm the applicable edition, certificate scope, validity, certificate holder, and factory location with the issuing certification body.
A solar system’s purchase price is only the starting point. Compare the full installed cost, including panels, inverters, mounting hardware, wiring, labor, permits, freight, and taxes. For international purchases, confirm which costs are included in the supplier’s quote. A low equipment price can look less attractive after shipping, installation, and replacement parts are added.
Then estimate annual savings using your actual electricity use and local energy rates. A simple payback estimate divides total upfront cost by expected yearly savings, but treat the result as a guide, not a promise. Sunlight changes by season. So do tariffs. Include routine cleaning, inverter replacement, and possible battery costs, especially if outages matter. Ask an installer to show the assumptions behind projected output, and compare them with your roof’s orientation and recent utility bills. One spreadsheet helps.
Financing changes the calculation. Compare cash purchases with loans, leases, or other locally available payment plans by checking interest, fees, repayment length, and ownership terms. A smaller monthly payment may mean a higher total cost. Tax credits or rebates can improve returns, but eligibility varies by location and may change. Verify them with an appropriate local authority or qualified adviser before including them in your budget. Estimates are imperfect; update them when firm installation quotes arrive.
Before ordering a solar system, map the installation site carefully. Note roof direction, shade from nearby trees, cable routes, and available working space. Ask the installer to inspect the roof structure and confirm where inverters and batteries can be placed. A neat drawing is useful, but it may miss a drainpipe or a narrow access path. Check those details in person when possible. Small oversights can delay installation.
Plan maintenance around local conditions. Dust, salt air, heavy rain, and high temperatures affect equipment differently. Ask how often panels need cleaning and whether the inverter needs clear airflow. Get a written maintenance schedule, including inspection points and recommended spare parts. Keep basic records. Dates matter. If output drops, compare recent readings with earlier months before assuming a component has failed. Weather can distort the picture.
Read warranty terms before comparing prices. Separate coverage for panels, inverters, batteries, workmanship, and shipping. Confirm who handles a claim, what evidence is required, and whether replacement labor is included. For overseas purchases, ask how after-sales support works across time zones. Request response times, troubleshooting steps, and a clear contact route. Test that route with a practical question before paying. I have seen buyers focus on headline coverage and overlook transport costs; that detail is easy to miss, and worth checking twice.